


Running out of storage on your iPhone? Or worried about losing precious photos?
You’re not alone.
Millions of users struggle with how to transfer photos from iPhone to PC quickly and safely.
It’s easier than ever.
Whether you prefer cables, wireless syncing, or cloud tools, this guide covers real-world tested methods that actually work—without confusion.
Read Quick Story
Why Transferring Photos Matters?
Photos are more than files—they’re memories, work assets, and backups. Relying only on your iPhone is risky.
Apple itself recommends regular backups using tools like Apple Devices app or iCloud for Windows for safe transfers.
Think of your iPhone like a camera roll, and your PC like a secure archive vault.


Comparison: Which Method Should You Use?
Think of these methods like transportation:
- USB cable = Highway (fast, direct)
- iCloud = Cloud airline (convenient, needs internet)
- Email = Bicycle (slow, small loads)
Choose Best Method based on your needs:
Method 1: Transfer Photos Using USB + Photos App (Most Reliable)
This is the fastest and most stable method.
Steps:
Why it works:
✔ Ideal for transfer photos from iPhone to windows quickly

Method 2: Use File Explorer (Manual Control)
This method gives you direct access to files.
Steps:
Pro Tip
iPhone stores photos in multiple folders. Don’t panic—this is normal

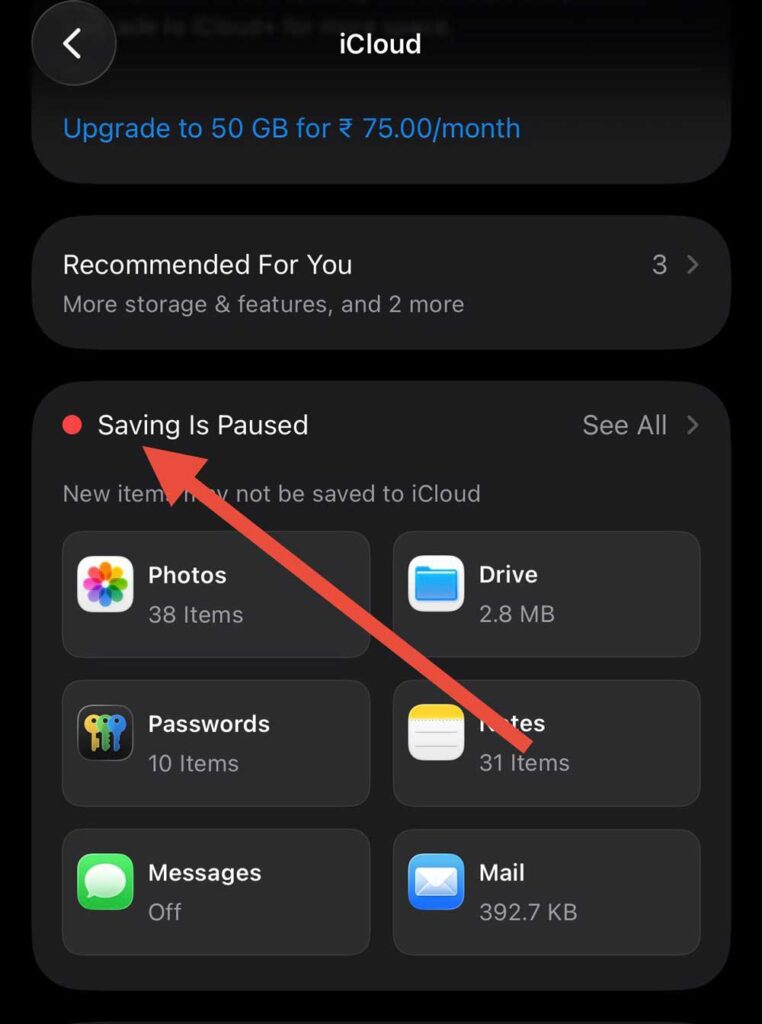
Method 3: Transfer Photos Using iCloud (Wireless Method)
Perfect if you hate cables.
Steps:
Best for:
- Automatic syncing
- Remote access
- Backups
✔ Great solution for how to transfer photos from iPhone to PC without USB cable
Method 4: Use Apple Devices App (Recommended Way)
Apple is pushing this newer tool for Windows users.
Steps:

Why this matters:
This replaces older iTunes workflows and is more stable in 2026
Method 5: Email or Messaging Apps (Quick Tiny Transfers)
Good for a few photos.
Steps:
Limitation:
Not suitable for bulk transfers stable.
Compresses images
Method 6: Use Cloud Storage (Google Drive / OneDrive)
Steps:
✔ Helpful if you also want how to transfer photos from iPhone to laptop wirelessly stable in 2026
Method 7: Transfer to USB Drive (Indirect Method)
Steps:
✔ Useful for how to transfer photos from iPhone to USB
Expert Insight
Set iPhone Camera Format to “Most Compatible” before transfer.
Go to Settings → Camera → Formats → Select Most Compatible.
This avoids HEIC compatibility issues on Windows PCs.
Meet Sarah
Sarah, a freelance photographer from Texas, lost 3 months of client images when her iPhone crashed. She assumed iCloud backed everything. It didn’t.
Now she uses USB transfer weekly + iCloud backup. Her workflow is faster—and safer.
Lesson: Don’t rely on one method.
What If This Doesn’t Work? (Troubleshooting)
Problem: iPhone not showing on PC
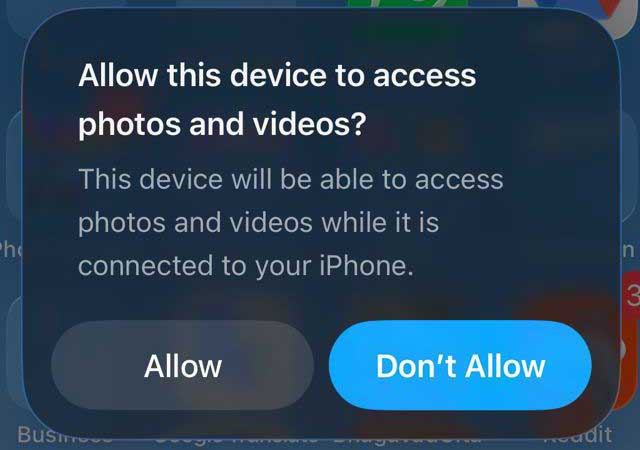
- Unlock your iPhone
- Tap “Trust This Computer”
- Change USB cable
Problem: Photos not importing
- Update Windows Photos app
- Restart both devices
Problem: HEIC files not opening
- Install HEIC codec on Windows
- Or switch to “Most Compatible”
Problem: Transfer is slow
- Use USB instead of wireless
- Avoid background apps
FAQs
Using a USB cable with the Windows Photos app is the fastest method.
Yes. Use Photos app, File Explorer, or iCloud instead.
You may need to unlock your phone and tap “Trust This Computer.”
No, unless you use email or compressed apps.
Yes, using iCloud or cloud storage apps.
Disclaimer
This guide is for educational purposes. Features may vary by iOS and Windows versions. Always back up your data before transfers.
Still stuck or want a faster method? Bookmark this guide and share it with someone who needs it—because losing photos isn’t worth the risk.

T’kal is the lead strategist and developer behind Apple Headlines. With a background in digital marketing and web development, he specializes in technical Apple troubleshooting, software news, and hardware rumors. T’kal focuses on delivering high-authority tech content that bridges the gap between Apple enthusiasts and the latest industry innovations.


