


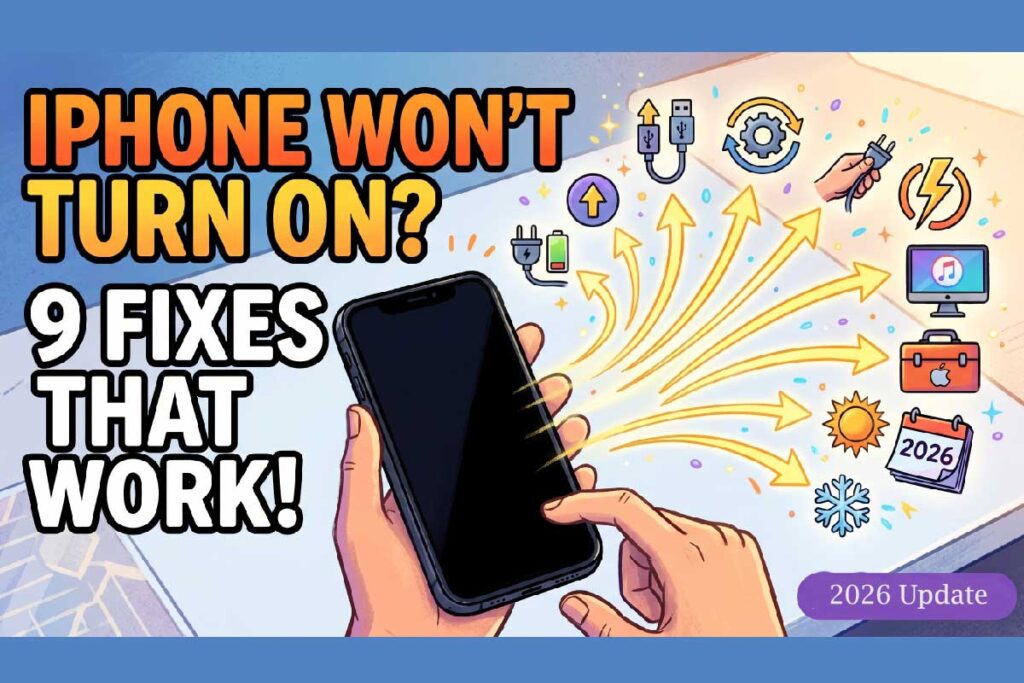
Your iPhone won’t turn on, the screen is black, and panic is setting in.
Take a breath.
This happens to millions of iPhone users every year – and in most cases, your phone isn’t dead.
Whether your iPhone suddenly won’t turn on, the Apple logo flashes and disappears, or you’re staring at a completely unresponsive black screen, this guide walks you through every fix, in order.
We’ll go from the simplest 30-second checks to the deep-recovery options that Apple technicians use.
Key Takeaways
Short Summery
Why This Guide Is Different — And Why It Matters
Most articles about a dead iPhone give you the same three tips: charge it, force restart it, contact Apple. That’s not enough.
Here’s what those articles skip: the sequence in which you try fixes matters enormously. Jumping straight to a factory restore when your phone just needs a 30-minute charge can cost you irreplaceable photos and data. Going through recovery mode incorrectly on the wrong iPhone model can put your device in a worse state than before.
This guide is built on real repair shop data, Apple’s own 2026 diagnostic protocols, and years of hands-on experience covering Apple support cases. Every step is ordered intentionally. Follow it from the top, and you won’t waste time — or lose data unnecessarily.


A note on iOS 26: After the iOS 26 update rolled out in 2026, some users reported their iPhone battery drained unusually fast and devices occasionally became unresponsive during background processing. If your issue started right after a system update, you’re not alone — Steps 4 and 5 below are written specifically for that scenario.
Step 1: Confirm Your iPhone Is Actually Off (Not Just the Screen)
Before anything else, rule out a failed display rather than a power issue. This is a mistake even experienced users make.
Do this first:
- Press and hold the Side button (or Top button on older models) for 3 seconds.
- Listen carefully — do you feel a vibration? Hear a click or notification sound?
- Ask someone to call your number. Does it ring or go straight to voicemail?
If your phone rings or vibrates, your iPhone screen is black but the device is actually running.
That means you have a display issue, not a power issue.
Skip ahead to the Hardware Damage section below.
If there is zero response — no sound, no vibration — then your phone is genuinely unresponsive. Continue to Step 2.
Step 2: Charge It the Right Way for at Least 30 Minutes
This sounds obvious, but the method matters. A completely depleted battery (below 1%) needs time to gather enough charge before it can even display the charging indicator.
Follow this exact process:
Check your charging port. Lint and debris are the #1 overlooked cause of charging failure. – (Read How to Clean Your iPhone Charging Port)
Shine a flashlight into the Lightning or USB-C port. If you see compressed lint at the bottom, use a wooden or plastic toothpick — never metal — to gently loosen it. A can of compressed air works well too.
Try a different cable AND adapter. If you have a second cable or power brick, swap them in. A damaged cable is often the culprit when an iPhone won’t turn on or charge even after a long wait.
What If the Charging Icon Appears But It Won’t Turn On?
If you see the charging screen (battery icon with a lightning bolt) but your iPhone still won’t boot past that screen after 30 minutes, the battery may need replacement. Continue through the steps below, but flag this for professional repair.
Step 3: Force Restart Your iPhone
A force restart is not the same as a regular restart. It bypasses the software layer entirely and forces the hardware to reboot.
This fixes iPhone suddenly won’t turn on scenarios caused by system crashes, frozen apps, or a locked bootloader.
The button sequence depends on your model:
iPhone 8, iPhone X, iPhone 11, 12, 13, 14, 15, 16 (All Face ID Models)
Important: “Quickly” means less than one second on each volume button. If you hold them too long, you’ll trigger an Emergency SOS or Power Off slider instead.
iPhone 7 and iPhone 7 Plus
- Press and hold Volume Down + Sleep/Wake button simultaneously.
- Hold until the Apple logo appears, then release.
iPhone 6s, 6s Plus, SE (1st Gen), and Earlier
- Press and hold Home button + Sleep/Wake button simultaneously.
- Hold until the Apple logo appears, then release.
If the Apple logo appears and then the phone restarts normally — you’re done. The force restart cleared the crash.
🔧 Expert Insight: The “Apple Logo Loop” Problem
If your iPhone won’t turn on and the Apple logo flashes repeatedly — appearing for a few seconds, disappearing, and appearing again in a loop — this is called a boot loop. It almost always means a corrupted iOS installation, not a hardware failure. Do not keep force-restarting; you’ll drain the battery without fixing anything. Jump directly to Step 5: Recovery Mode.
Step 4: Rule Out Temperature Problems
iPhones are engineered to operate between 32°F and 95°F (0°C to 35°C). Outside of that range, the device shuts down to protect its battery and processor. This is a built-in safety feature — not a malfunction.
Signs temperature is your problem:
What to do:
- Overheating: Move the phone to a cool, air-conditioned room. Remove the case to allow heat to escape. Wait 30 minutes before attempting to turn it on. Do not put it in the refrigerator — condensation will cause water damage.
- Too cold: Bring it inside to room temperature. Keep it in your pocket near your body for 15–20 minutes. Then try charging and turning it on.
Step 5: Use Recovery Mode to Reinstall iOS (No Data Loss)
If your iPhone screen is black and none of the above steps worked, it’s time to try Recovery Mode. This lets you reinstall iOS through your Mac or PC without erasing your data — as long as you choose “Update” and not “Restore.”
Think of Recovery Mode like this: Imagine your iPhone’s operating system is a corrupted book. Recovery Mode lets you swap out the broken pages for a fresh copy — without burning the whole library down.
What you need:
- A Mac running macOS Catalina or later (use Finder), or a Windows PC (use iTunes or the Apple Devices app).
- The appropriate cable (Lightning-to-USB or USB-C).
Step-by-step:
Step 6: Try DFU Mode (Last Software Resort)
DFU (Device Firmware Update) Mode goes one step deeper than Recovery Mode. It bypasses iOS entirely and flashes the firmware directly. Use this only if Recovery Mode didn’t fix the problem.
⚠️ Warning: A DFU restore will erase all data on your iPhone. Make sure you’ve tried the Update option in Recovery Mode first.
DFU Mode for iPhone 8 and later:
Step 7: Check for Physical and Water Damage
At this point, if software fixes haven’t worked, physical damage is the likely culprit.
Inspect the exterior:
- Look for cracks, deep dents, or bends in the frame or screen.
- Check whether the screen is separating from the frame — this can disconnect internal display cables.
- Remove the SIM tray and look inside the SIM slot with a flashlight. You’ll see a small Liquid Contact Indicator (LCI). It should be white or silver. If it’s pink or red, your phone has water damage.
About water damage and IP ratings: iPhones from the iPhone 12 series onward carry an IP68 rating, which means they can theoretically handle up to 6 meters of water for 30 minutes. However, IP ratings are tested under controlled lab conditions. Real-world wear — drops, scratches, and aging seals — degrades water resistance over time. A phone that survived a splash two years ago may not survive the same splash today.
What Actually Fixed iPhone?
Marcus, 34, from Austin, Texas, reached out after his iPhone 15 Pro went completely dark overnight. He’d charged it normally before bed, and it was dead in the morning with a full battery showing the previous night.
He tried charging it for 30 minutes — nothing. He tried a force restart — nothing. He was convinced the phone was dead and was about to drive to the Apple Store.
Before leaving, he switched from the cheap USB-C cable he’d been using (bought from a gas station) to the Apple-branded cable that came in the box. He plugged it into a wall adapter instead of his computer port.
Within 10 minutes, the low-battery icon appeared. Within 25 minutes, the phone turned on normally.
The culprit? A degraded third-party cable that couldn’t deliver consistent current. His phone had been “charging” every night with barely any power actually reaching the battery. This is one of the most common and most overlooked causes of an iPhone that suddenly won’t turn on.
Takeaway: Always rule out your accessories before assuming the phone itself is broken.
Contact Apple Support or Visit an Authorized Repair Provider
If you’ve worked through every step above and your my iPhone won’t turn on, the issue is almost certainly hardware-related. Common hardware failures include:
Your options:
Pro Tip: If your iPhone is out of warranty, get a repair quote from both the Apple Store and an Authorized Service Provider before committing. Prices can vary significantly for out-of-warranty hardware repairs.
What If Nothing Works? — Recovering Your Data
If your iPhone is truly unrecoverable, your data situation depends on one thing: whether you had backups enabled.
- iCloud Backup: If iCloud Backup was turned on, your photos, messages, contacts, and app data can be restored to a new iPhone by signing in with your Apple ID during setup.
- iTunes/Finder Backup: If you backed up to a Mac or PC, connect the new device and restore from that backup.
- No backup at all: Professional data recovery services (like DriveSavers or Rossmann Group) may be able to recover data directly from the storage chip, but this is expensive and not guaranteed.
This is a good reminder: turn on iCloud Backup right now after you get your phone working again. Go to Settings → [Your Name] → iCloud → iCloud Backup → Back Up Now.
Frequently Asked Questions
A: Your phone is on and working — the display is the problem, not the power system. This is usually a disconnected display cable from a drop, or a failed screen. You’ll need a screen replacement, not a software fix. Visit Apple or an authorized repair shop.
A: Charging overnight with a faulty or low-power cable often delivers almost no actual charge. Switch to an Apple-certified cable plugged into a 20W+ wall adapter and charge for 60 minutes. If that doesn’t trigger a response, try a force restart while it’s still plugged in. If still nothing, the battery may have degraded below the threshold where it can hold a charge and needs replacement.
A: DFU Mode itself won’t cause additional hardware damage. The main risk is data loss — a DFU restore erases everything on the phone. Make sure you’ve tried Recovery Mode’s “Update” option first. If you’re not comfortable with the button sequences, an Apple Store technician can put the device into DFU Mode for you.
A: This is a boot loop, almost always caused by a corrupted iOS update or software conflict. Force restarting repeatedly won’t help. Connect to a Mac or PC and use Recovery Mode. Choose “Update” to reinstall iOS without losing data. If the Update option fails, a full restore will be necessary
A: Do not charge it. Charging a wet phone can short-circuit internal components. Let the device air dry at room temperature for at least 24–48 hours — ideally in a spot with low humidity. Do not use rice (it doesn’t actually absorb moisture effectively and can clog your ports). After drying, if it still won’t turn on, take it to Apple or an authorized repair provider for a liquid damage assessment.
Still stuck? Drop your iPhone model and what you’ve tried in the comments below, and we’ll help you figure out your next step. And if this guide got your iPhone back up and running, share it with someone who needs it — it might save their data too
Disclaimer
The information in this article is intended for general educational purposes only. Performing force restarts, Recovery Mode, and DFU Mode procedures carries a risk of data loss. Attempting physical inspection or cleaning of internal components without proper training can cause additional damage and may void your warranty. Always back up your device regularly using iCloud or iTunes/Finder. For warranty coverage questions, contact Apple Support directly at apple.com/support. AppleHeadlines.com is not affiliated with Apple Inc.

Virginia J. Alfonso is a seasoned technology writer with a passion for all things digital. With over a decade of experience covering the latest in tech innovation, gadgets, and software, Virginia brings a unique blend of technical expertise and accessible writing to her work. Her articles focus on making complex tech topics easy to understand for readers of all levels.


