






Your iPhone isn’t just a great camera – it’s a powerful video editing studio that fits in your pocket.
Whether you want to trim a clip before sharing, add cinematic transitions, or produce a full vlog, the tools are already on your device.
In this complete guide, I’ll walk you through every way to edit video on iPhone – from the built-in Photos app (perfect for quick fixes) to iMovie (ideal for storytelling) and the best third-party apps for advanced needs.
Let’s dive in.
Part 1: Edit Videos in the Photos App
The Photos app is your go-to for quick, everyday video edits. It’s pre-installed, requires no learning curve, and handles most basic adjustments perfectly.
How to Access the Video Editor
- Open the Photos app and tap the video you want to edit
- Tap the Edit button (top right corner or bottom toolbar)
- The editing interface will appear with all tools at the bottom
1.1 Trim Your Video (Cut Unwanted Parts)
Trimming removes footage from the beginning or end of your clip—essential for cutting out awkward starts or long endings.
Steps:
- Tap Edit on your video
- You’ll see a timeline with yellow handles at both ends
- Drag the left handle rightward to set a new start point
- Drag the right handle leftward to set a new end point
- Tap the play button to preview your trim
- Tap Done, then choose:
💡 Pro Tip: Always choose “Save Video as New Clip” when experimenting. You can always delete the new version later, but you can’t get the original back if you overwrite it.
1.2 Crop, Rotate, and Straighten
Adjust your video’s framing, orientation, or fix a crooked horizon.



Steps:
- Tap Edit → tap the Crop icon (square with arrows)
- To crop freely: Drag any corner or edge of the frame
- To use preset aspect ratios: Tap the frame icon (top right) and choose 16:9, Square, 9:16 (vertical), etc.
- To rotate: Tap the rotate icon (square with curved arrow) repeatedly for 90° increments
- To straighten: Use the dial below the video to adjust the angle
- Tap Done to save
1.3 Apply Filters for Instant Mood
Filters give your video a distinct look with one tap—from vibrant to dramatic to black and white.
Steps:
- Tap Edit → tap the Filters icon (three interlocking circles)
- Scroll through options like Vivid, Dramatic, Mono, Silver, etc.
- Use the intensity slider above the filters to adjust strength
- Tap Done to apply
1.4 Fine-Tune Light and Color (Adjustments)
For more control than filters provide, use the adjustment tools.
Steps:
- Tap Edit → tap the Adjust icon (second from left in the toolbar)
- Scroll through adjustments including:
- Exposure – overall brightness
- Brilliance – brings out detail in shadows and highlights
- Highlights / Shadows – target specific areas
- Contrast – difference between light and dark
- Saturation – color intensity
- Warmth / Tint – color temperature
- Drag each slider to taste
- Tap Done to save
1.5 Adjust Video Speed (iOS 18+)
If your video was recorded at higher than 30FPS, you can slow it down for dramatic effect—a new feature in iOS 18 and later.
Steps:
- Tap Edit on your video
- Tap the Speed control button
- Choose your desired playback speed
- Tap Done to save
1.6 Mute Audio
Need to remove sound from a video?
Steps:
1.7 How to Undo Edits (Revert to Original)
Made a mistake? You can always go back.
Steps:
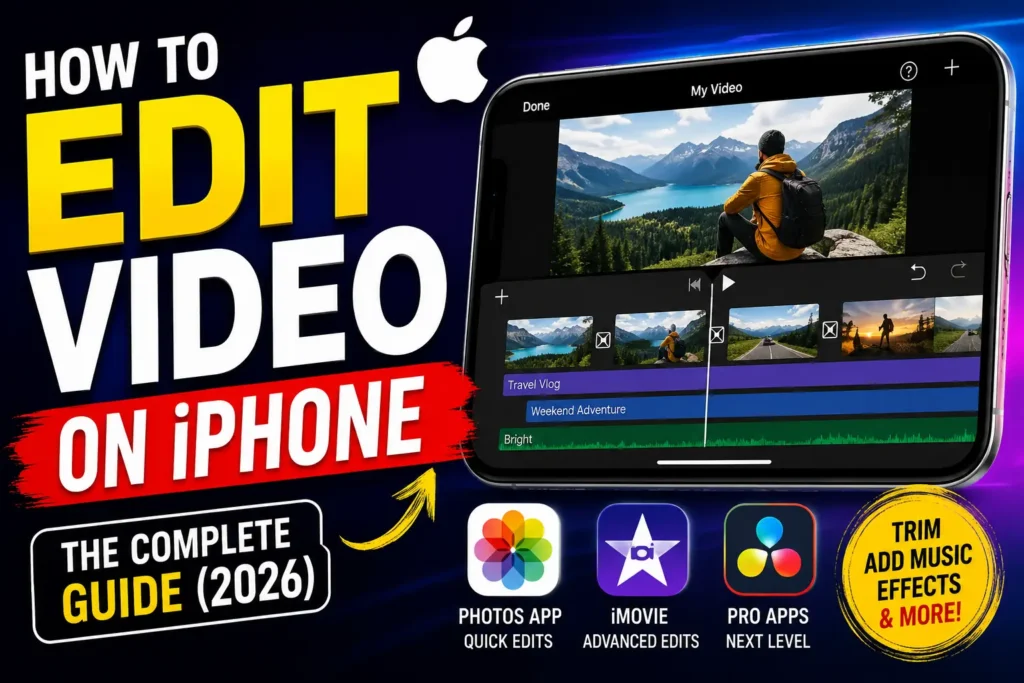
Part 2: Advanced Editing with iMovie
While Photos handles single-clip edits, iMovie is Apple’s free video editor for multi-clip projects, transitions, titles, and music. It’s pre-installed on newer iPhones or available free from the App Store.
Getting Started with iMovie
- Open iMovie on your iPhone
- Tap Create a Project → Movie
- Select the clips you want to include → tap Create Movie
2.1 Split a Clip (Cut in the Middle)
Unlike trimming (which only cuts ends), splitting lets you cut anywhere in the middle of a clip.
Steps:
- Tap the clip in your iMovie timeline
- Drag the playhead (white vertical line) to where you want to split
- Tap Split
2.2 Trim Clips in iMovie
2.3 Add Transitions
Smooth the gap between clips with transitions.
Steps:
- Tap the transitions button between two clips
- Choose from options like Dissolve, Wipe, Fade
2.4 Add Titles and Text
- Tap the Titles button in the toolbar
- Choose a title style and enter your text
- Drag to position it where you want in the timeline
2.5 Add Music or Sound Effects
- Tap the plus (+) button → Audio
- Choose from:
- Soundtracks – built-in royalty-free music
- My Music – songs from your Apple Music library
- Adjust the audio level with the slider
2.6 Adjust Clip Speed in iMovie
- Tap the clip → tap the speed icon (looks like a speedometer)
- Drag the slider to speed up or slow down
2.7 Remove Audio from a Clip
- Tap the clip → tap the Actions button → Detach Audio
- The audio becomes a separate blue bar—tap it and delete
2.8 Export from iMovie
- Tap Done in the top left
- Tap the Share button (box with arrow)
- Choose Save Video to export to your Photos library
Part 3: Best Third-Party Video Editing Apps for iPhone
When you need professional features beyond what Photos and iMovie offer, these apps deliver.
| App | Best For | Key Features | Price |
|---|---|---|---|
| CapCut | Social media creators | Auto-captions, effects, transitions, TikTok-optimized | Free |
| InShot | Quick social edits | Music, stickers, filters, video stabilizer | Free + IAP |
| KineMaster | Advanced editing | Multi-layer timeline, VFX, AI tools (auto-captions, background remover) | Free + IAP |
| Adobe Premiere Rush | Cross-platform workflow | Frame-accurate cuts, unlimited tracks, reverse, freeze frame | Free + subscription |
| VN (VlogNow) | Prosumer editors | Advanced timeline, professional tools | Free |
| LumaFusion | Professional editors | Multi-track, advanced color grading | Paid |
| Splice | Music-driven videos | Royalty-free music, transitions | Free + IAP |
💡 Recommendation: Start with CapCut for social media content, InShot for quick projects, and LumaFusion only if you need professional-grade tools.
Part 4: iPhone Video Editing Pro Tips
Before You Edit
- Record with good lighting – Better source footage means less editing work
- Stabilize your shots – Use both hands, a tripod, or a gimbal for smoother footage
- Shoot at higher FPS (60fps or above) if you plan to use slow motion
- Free up storage – Videos take space. Delete duplicates and screen recordings before starting a big project.
During Editing
- Save originals – Always use “Save as New Clip” in Photos or duplicate projects in iMovie
- Less is more – Avoid over-editing. Simple, clean videos often look more professional
- Match aspect ratios – Choose the right ratio for your platform: 16:9 for YouTube, 9:16 for TikTok/Reels, 1:1 for Instagram
- Export at highest quality – Avoid excessive compression during export
What’s the difference between Photos and iMovie?
| Feature | Photos App | iMovie |
|---|---|---|
| Trim | ✅ | ✅ |
| Crop/Rotate | ✅ | ✅ |
| Filters | ✅ | ✅ |
| Color Adjustments | ✅ | ✅ |
| Speed Control | ✅ (iOS 18+) | ✅ |
| Mute Audio | ✅ | ✅ |
| Split Clips | ❌ | ✅ |
| Merge Clips | ❌ | ✅ |
| Transitions | ❌ | ✅ |
| Titles | ❌ (Markup only) | ✅ |
| Add Music | ❌ | ✅ |
Common Issues & Fixes
Frequently Asked Questions
Yes, newer iPhone models can edit 4K video, but it requires more processing power and storage.
No, the Photos app cannot merge clips. Use iMovie (free) or a third-party app like CapCut or InShot.
Yes. In iMovie, tap the + button → Audio → My Music to add songs from your library. Ensure you have the rights to use any music you share publicly.
Use third-party apps like CapCut or KineMaster, which offer AI noise removal. For professional audio cleanup, try Descript
Yes, as long as they’re in a compatible format and saved to your Photos library.
Final Thoughts
Editing video on iPhone has never been more accessible or powerful.
- For quick fixes – use the Photos app (trim, crop, filter)
- For storytelling – use iMovie (transitions, titles, music, merging)
- For pro results – explore CapCut, InShot, or KineMaster
The best editor is the one you’ll actually use. Start with the Photos app to build confidence, graduate to iMovie for more creative control, and explore third-party apps when you’re ready for advanced features.
Happy editing! 🎬
This guide was updated for 2026 and covers iOS 18 features. Have a question not answered here? Drop it in the comments!

T’kal is the lead strategist and developer behind Apple Headlines. With a background in digital marketing and web development, he specializes in technical Apple troubleshooting, software news, and hardware rumors. T’kal focuses on delivering high-authority tech content that bridges the gap between Apple enthusiasts and the latest industry innovations.